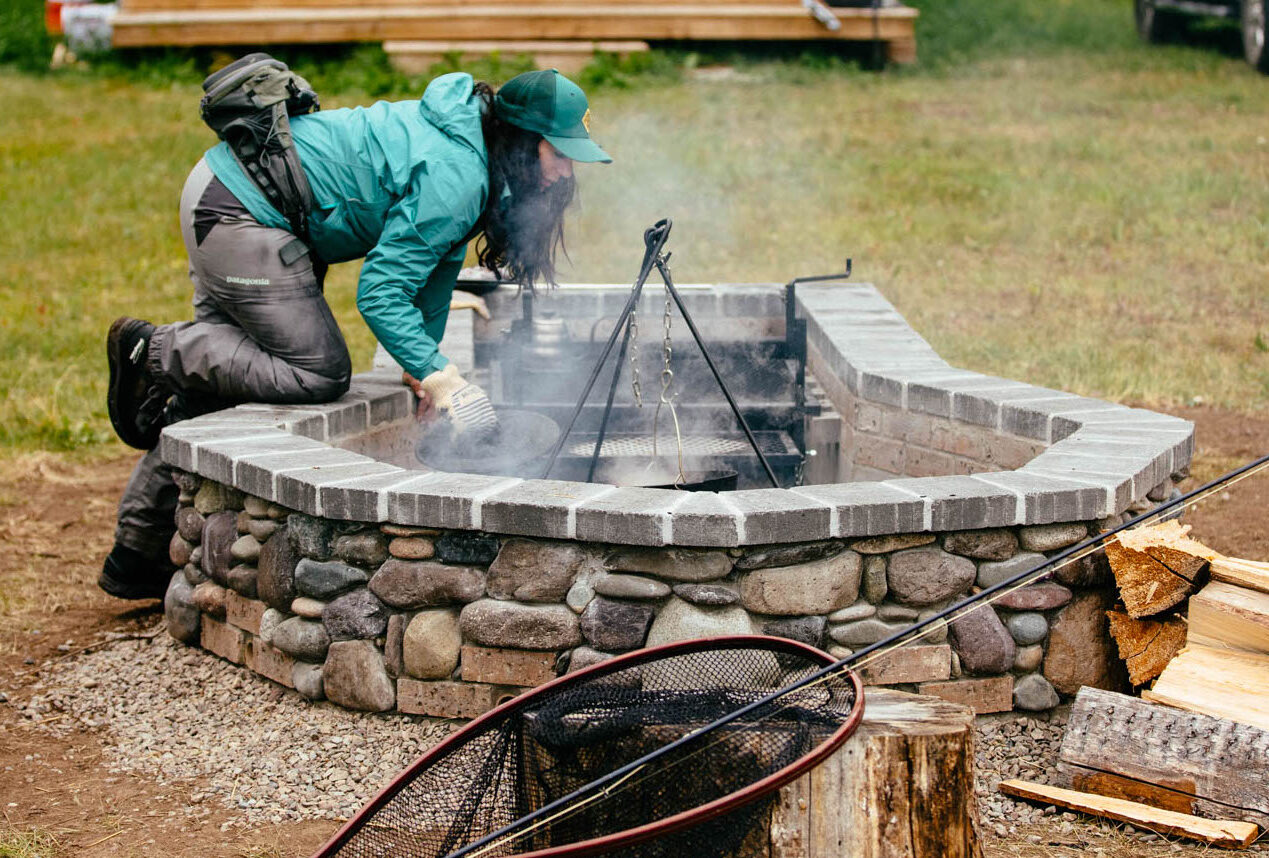
In our BC camp, experimenting with the flavour of various woods and coal is an integral part of our campfire cooking. We’re certainly not the first to find interest in the topic… early civilizations discovered that coal, a combustible sedimentary rock, could be ignited to produce a stable and efficient heat source for preparing meals. In fact, archaeological findings suggest that ancient societies, including the Chinese and Romans, were among the pioneers in utilizing coal for cooking.
While numerous hardwoods can be used to create lump charcoal, my personal favorite is alder. Lining the riverbank where we live, alder offers a distinctive flavor perfect for steaks, venison, mushrooms, and roasted vegetables.
The Choice of Alder
Alder, abundant along riverbanks, is my hardwood of choice for making lump charcoal. It has a subtle yet distinctive flavor that adds a unique touch to our dishes. To prepare the alder, I simply cut it into chunks and allow it to age, enhancing its combustion properties and contributing to the overall flavor profile.
Setting Up the Charcoal Drum
To make charcoal, you’ll need a large drum and a smaller drum that fits snugly inside. Crafting ventilation is crucial, so punch holes into the top of the smaller barrel to let the heat escape, creating a (manageable) display of flames. Additionally, cut vents into the larger drum for breathability and efficient fire ignition.
Ensuring Safety and Proper Barrel Placement
Given the intense heat generated during the charcoal-making process, it’s essential to choose a safe location for your barrels. After loading the small drum with alder hardwood, tip both drums onto their sides. Carefully slide the smaller drum into the larger one, ensuring it’s centered, and stand them upright. Fill the space between the drums with regular firewood.
Ignition and Monitoring
Use the vents to initiate the fire and closely monitor its progress to ensure even combustion. The duration for optimal coal production varies based on the quantity of wood, typically taking three to four hours.
Cooling Down and Retrieving the Charcoal
Once the charcoal has been formed, exercise patience until you’re certain everything has cooled down. Gently flip both barrels onto their sides and carefully pull out the small drum. The result is a batch of perfectly black coals, ready to infuse your culinary creations with the rich, smoky essence of alder.
The history of cooking over coal is a testament to our adaptability and innovation as humans. From ancient civilizations to the present day, coal has played a crucial role in shaping culinary traditions worldwide. As we continue to evolve, balancing the rich history of coal cooking with sustainable practices becomes essential, ensuring that the legacy of this cooking method endures while minimizing its environmental impact.
Make sure to check out my video above for a full tutorial.


